# Get started with Teleport on DigitalOcean Kubernetes
This guide will show you how to get started with Teleport on DigitalOcean Kubernetes.
If you are already running Teleport on another platform, you can use your existing Teleport deployment to access your Kubernetes cluster. [Follow our guide](https://goteleport.com/docs/enroll-resources/kubernetes-access/getting-started.md) to connect your Kubernetes cluster to Teleport.
---
TIP
Teleport Enterprise Cloud takes care of this setup for you so you can provide secure access to your infrastructure right away.
Get started with a [free trial](https://goteleport.com/signup?t_source=docs) of Teleport Enterprise Cloud.
---
## How it works
In the setup we describe in this guide, you deploy a DigitalOcean Kubernetes cluster, then install the `teleport-cluster` Helm chart, which deploys the Teleport Auth Service and Teleport Proxy Service. You can then create a local administrative user on your Teleport cluster and enroll infrastructure resources by deploying Teleport Agents.
## Prerequisites
- DigitalOcean account.
- Your workstation configured with [kubectl](https://kubernetes.io/docs/tasks/tools/), [Helm](https://helm.sh/docs/intro/install/), [doctl](https://docs.digitalocean.com/reference/doctl/how-to/install/), and the Teleport [tsh](https://goteleport.com/docs/installation.md) client.
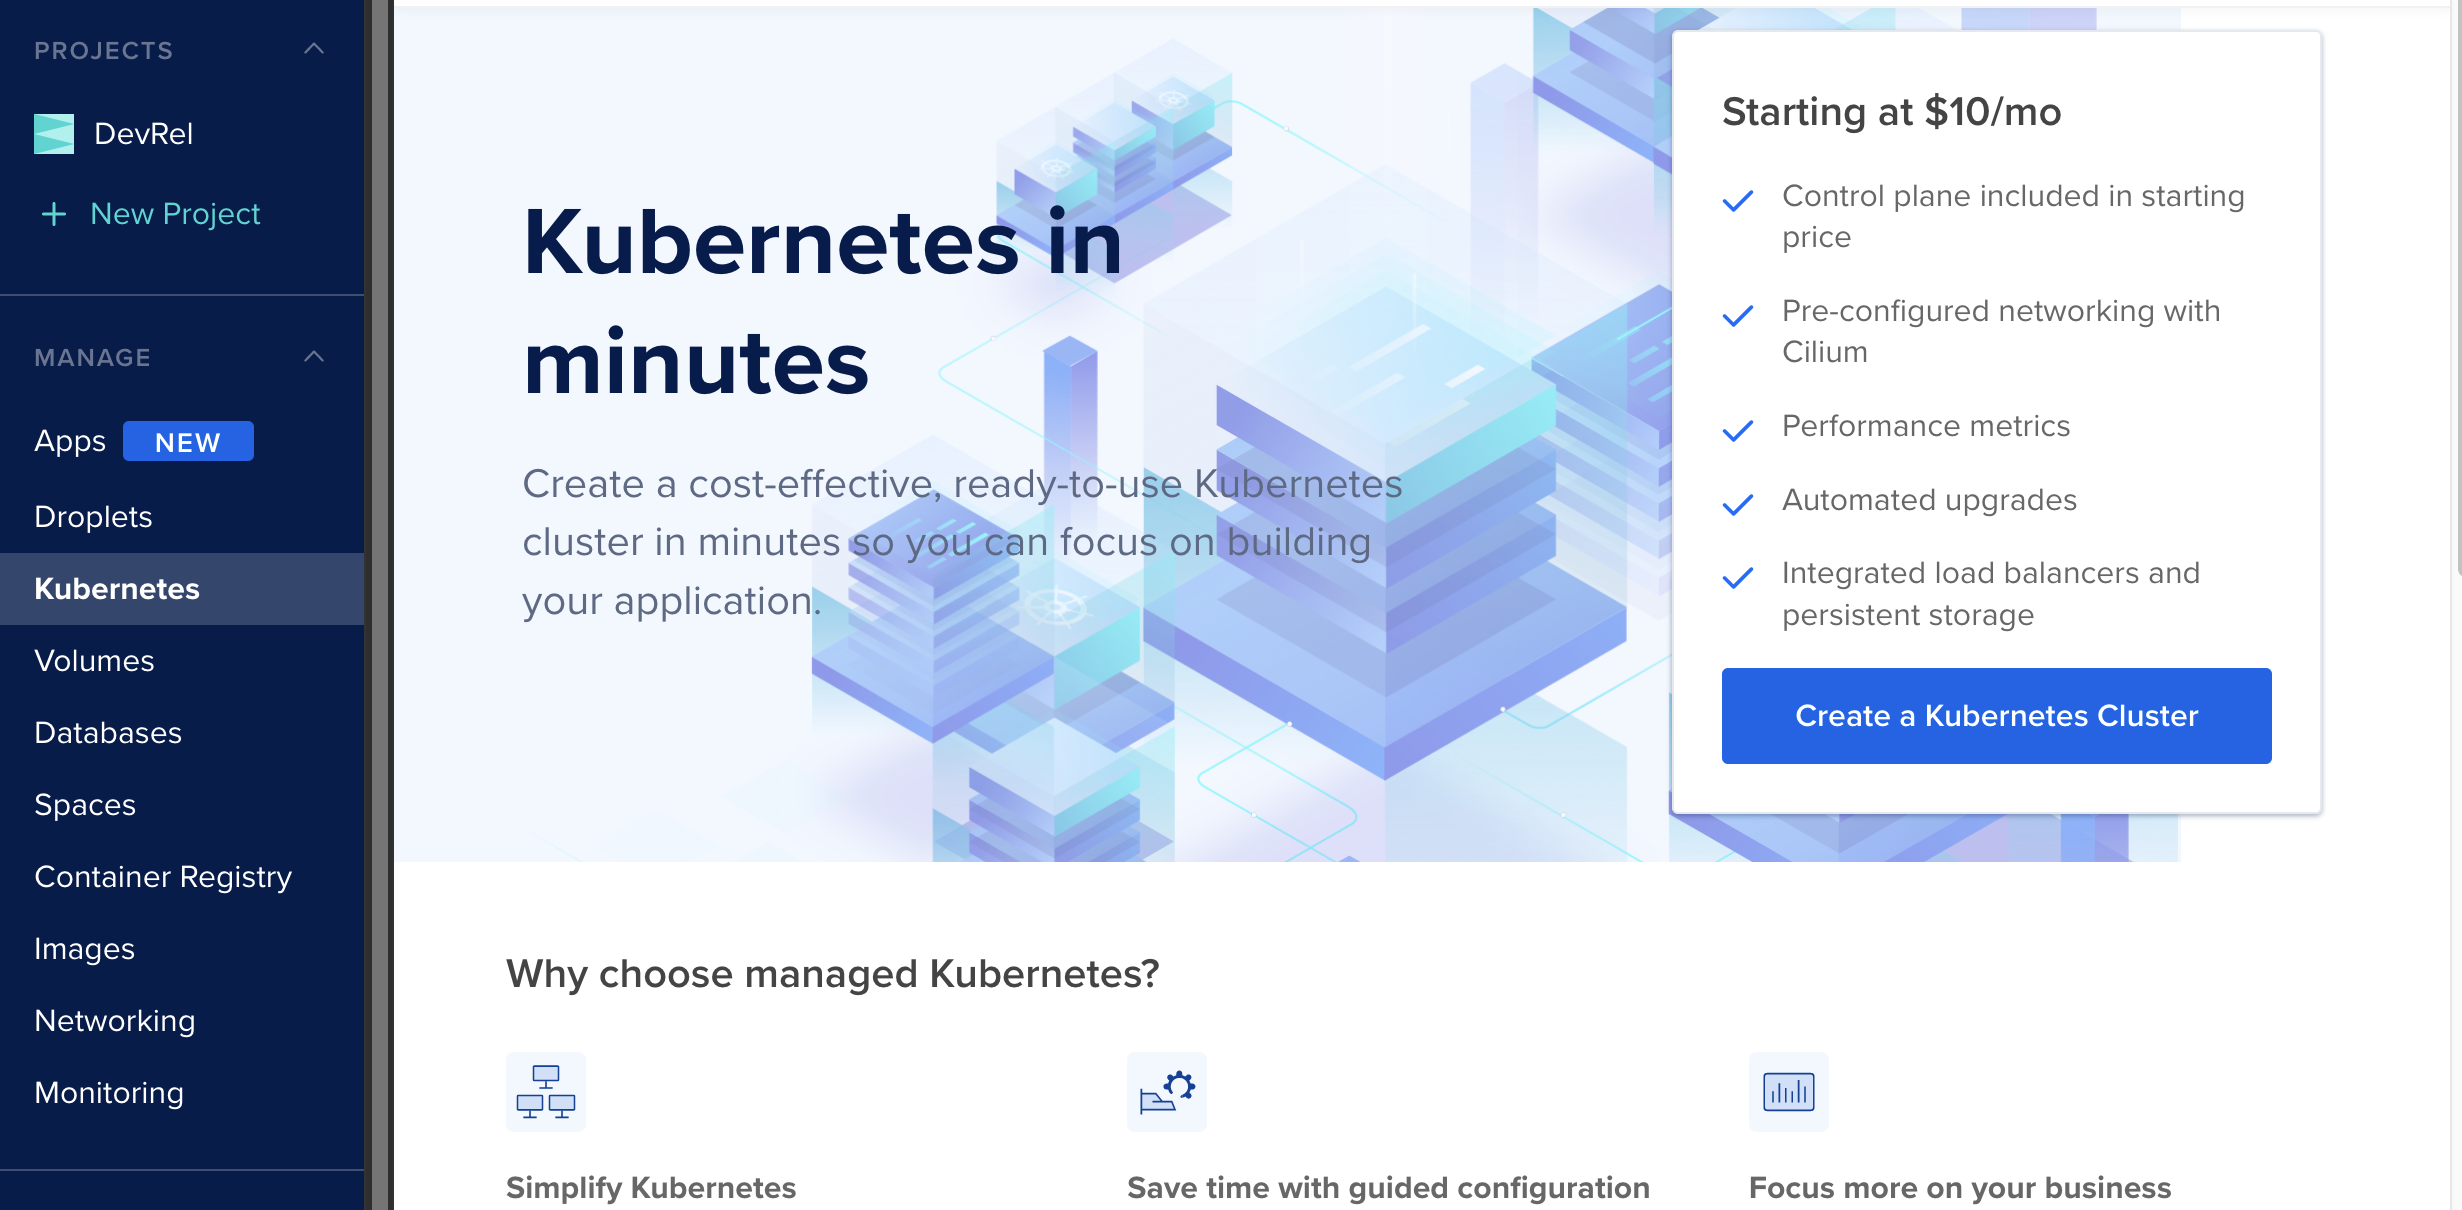
## Step 1/4. Create a DigitalOcean Kubernetes cluster
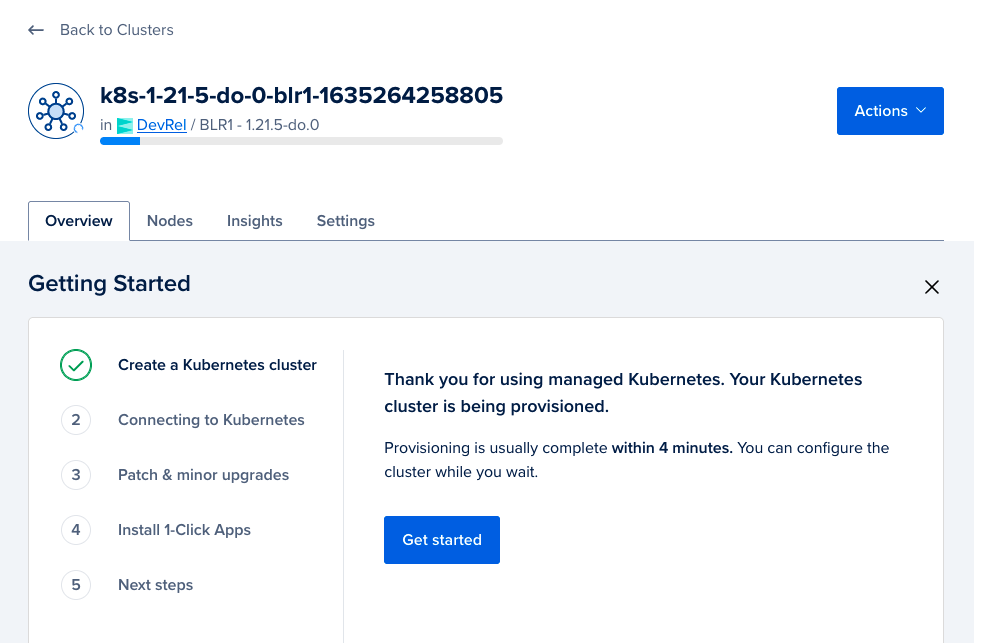
Create a new [DigitalOcean Kubernetes Cluster](https://cloud.digitalocean.com/kubernetes/clusters/)
While the Kubernetes cluster is being provisioned, follow the "Getting Started" guide as shown below:
## Step 2/4. Install Teleport
Configure Helm to fetch Teleport charts from the Teleport Helm repository:
```
$ helm repo add teleport https://charts.releases.teleport.dev
```
Refresh the local Helm cache by fetching the latest charts:
```
$ helm repo update
```
Install Teleport in your Kubernetes cluster using the `teleport-cluster` Helm chart:
**Teleport Community Edition**
```
$ CLUSTERNAME=tele.example.com # replace with your preferred domain name
$ EMAIL_ADDR=dodemo@goteleport.com # replace with your email
$ helm install teleport-cluster teleport/teleport-cluster \
--create-namespace \
--namespace=teleport-cluster \
--set clusterName=$CLUSTERNAME \
--set acme=true \
--set acmeEmail=$EMAIL_ADDR \
--version 18.7.3
NAME: teleport-cluster
LAST DEPLOYED: Tue Oct 26 17:01:21 2021
NAMESPACE: teleport-cluster
STATUS: deployed
REVISION: 1
TEST SUITE: None
```
**Teleport Enterprise**
Create a namespace for your Teleport cluster resources and configure the PodSecurityAdmission:
```
$ kubectl create namespace teleport-cluster
namespace/teleport-cluster created
$ kubectl label namespace teleport-cluster 'pod-security.kubernetes.io/enforce=baseline'
namespace/teleport-cluster labeled
```
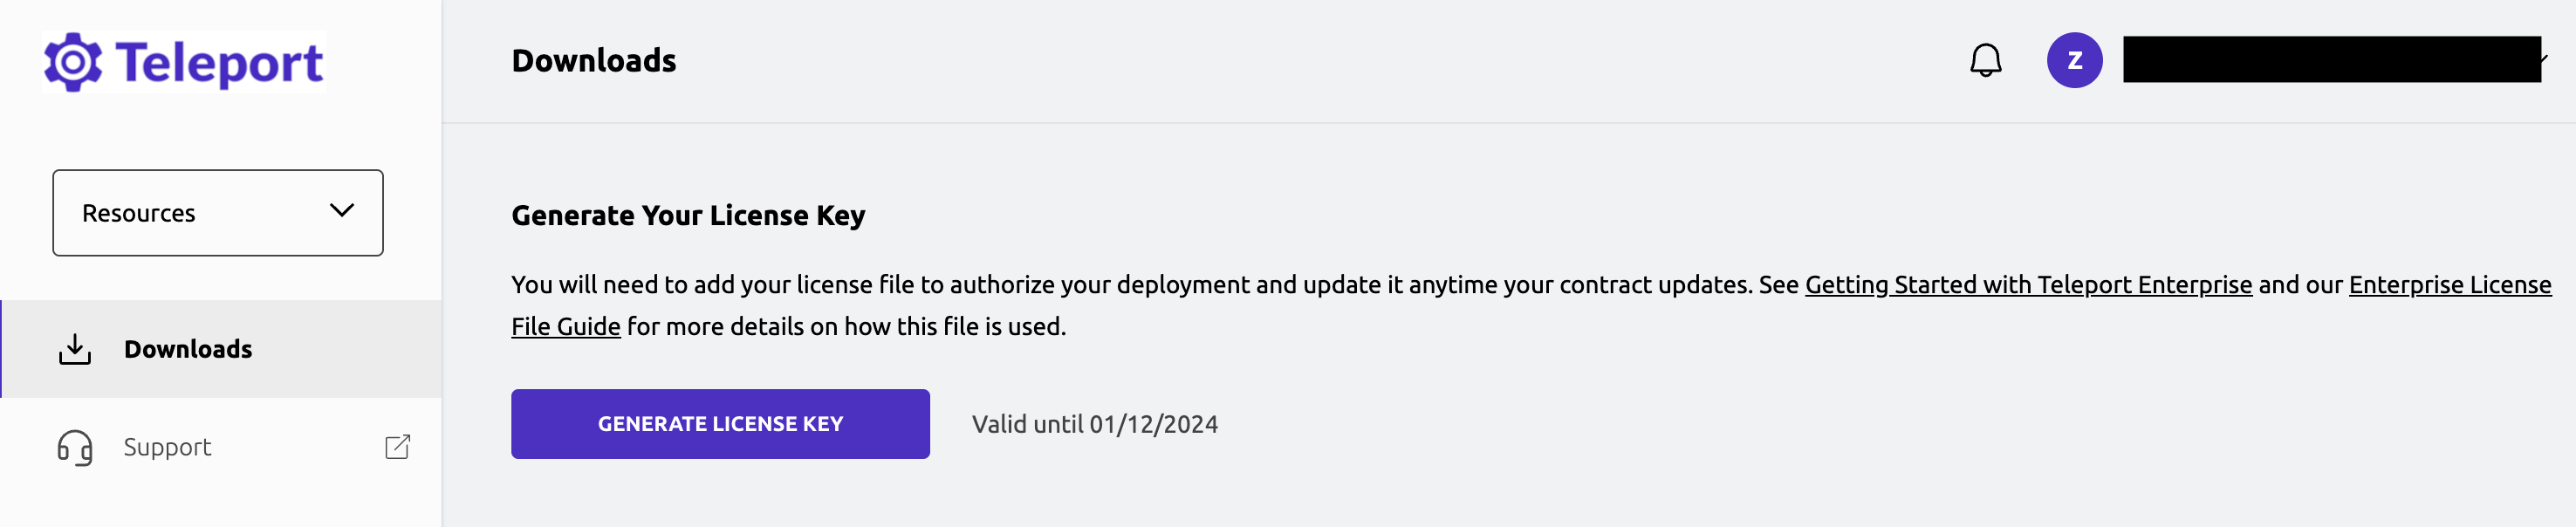
The Teleport Auth Service reads a license file to authenticate your Teleport Enterprise account.
To obtain your license file, navigate to your Teleport account dashboard and log in. You can start at [teleport.sh](https://teleport.sh) and enter your Teleport account name (e.g. my-company). After logging in you will see a "GENERATE LICENSE KEY" button, which will generate a new license file and allow you to download it.
Create a secret called "license" in the namespace you created:
```
$ kubectl -n teleport-cluster create secret generic license --from-file=license.pem
```
Install Teleport:
```
$ CLUSTERNAME=tele.example.com # replace with your preferred domain name
$ EMAIL_ADDR=dodemo@goteleport.com # replace with your email
$ helm install teleport-cluster teleport/teleport-cluster \
--namespace=teleport-cluster \
--set clusterName=$CLUSTERNAME \
--set acme=true \
--set acmeEmail=$EMAIL_ADDR \
--set enterprise=true \
--version 18.7.3
NAME: teleport-cluster
LAST DEPLOYED: Tue Oct 26 17:01:21 2021
NAMESPACE: teleport-cluster
STATUS: deployed
REVISION: 1
TEST SUITE: None
```
### Update DNS for `clusterName`
First, get the external IP (from the `EXTERNAL-IP` field) for the Kubernetes cluster.
```
$ kubectl --namespace=teleport-cluster get services
NAME TYPE CLUSTER-IP EXTERNAL-IP PORT(S) AGE
teleport-cluster LoadBalancer 10.245.163.12 192.168.200.200 443:31959/TCP,3023:30525/TCP,3026:30079/TCP,3024:32437/TCP 19m
teleport-cluster-auth ClusterIP 10.245.164.28 3025/TCP,3026/TCP 19m
```
Once you get the value for the external IP (it may take a few minutes for this field to be populated), update your DNS record such that the clusterName's A record points to this IP address. For example `192.168.200.200` is the external IP in the above case.

## Step 3/4. Create and set up Teleport user
Now we create a Teleport user by executing the `tctl` command with `kubectl`.
**Teleport Community Edition**
```
$ kubectl --namespace teleport-cluster exec deployment/teleport-cluster-auth -- tctl users add tadmin --roles=access,editor --logins=ubuntu
User "tadmin" has been created but requires a password. Share this URL with the user to complete user setup, link is valid for 1h:
https://tele.example.com:443/web/invite/
NOTE: Make sure tele.example.com:443 points at a Teleport proxy which users can access.
```
**Commercial**
```
$ kubectl --namespace teleport-cluster exec deployment/teleport-cluster-auth -- tctl users add tadmin --roles=access,editor,reviewer --logins=ubuntu
User "tadmin" has been created but requires a password. Share this URL with the user to complete user setup, link is valid for 1h:
https://tele.example.com:443/web/invite/
NOTE: Make sure tele.example.com:443 points at a Teleport proxy which users can access.
```
Copy the link shown after executing the above command and open the link in a web browser to complete the user registration process (the link is `https://tele.example.com:443/web/invite/` in the above case).
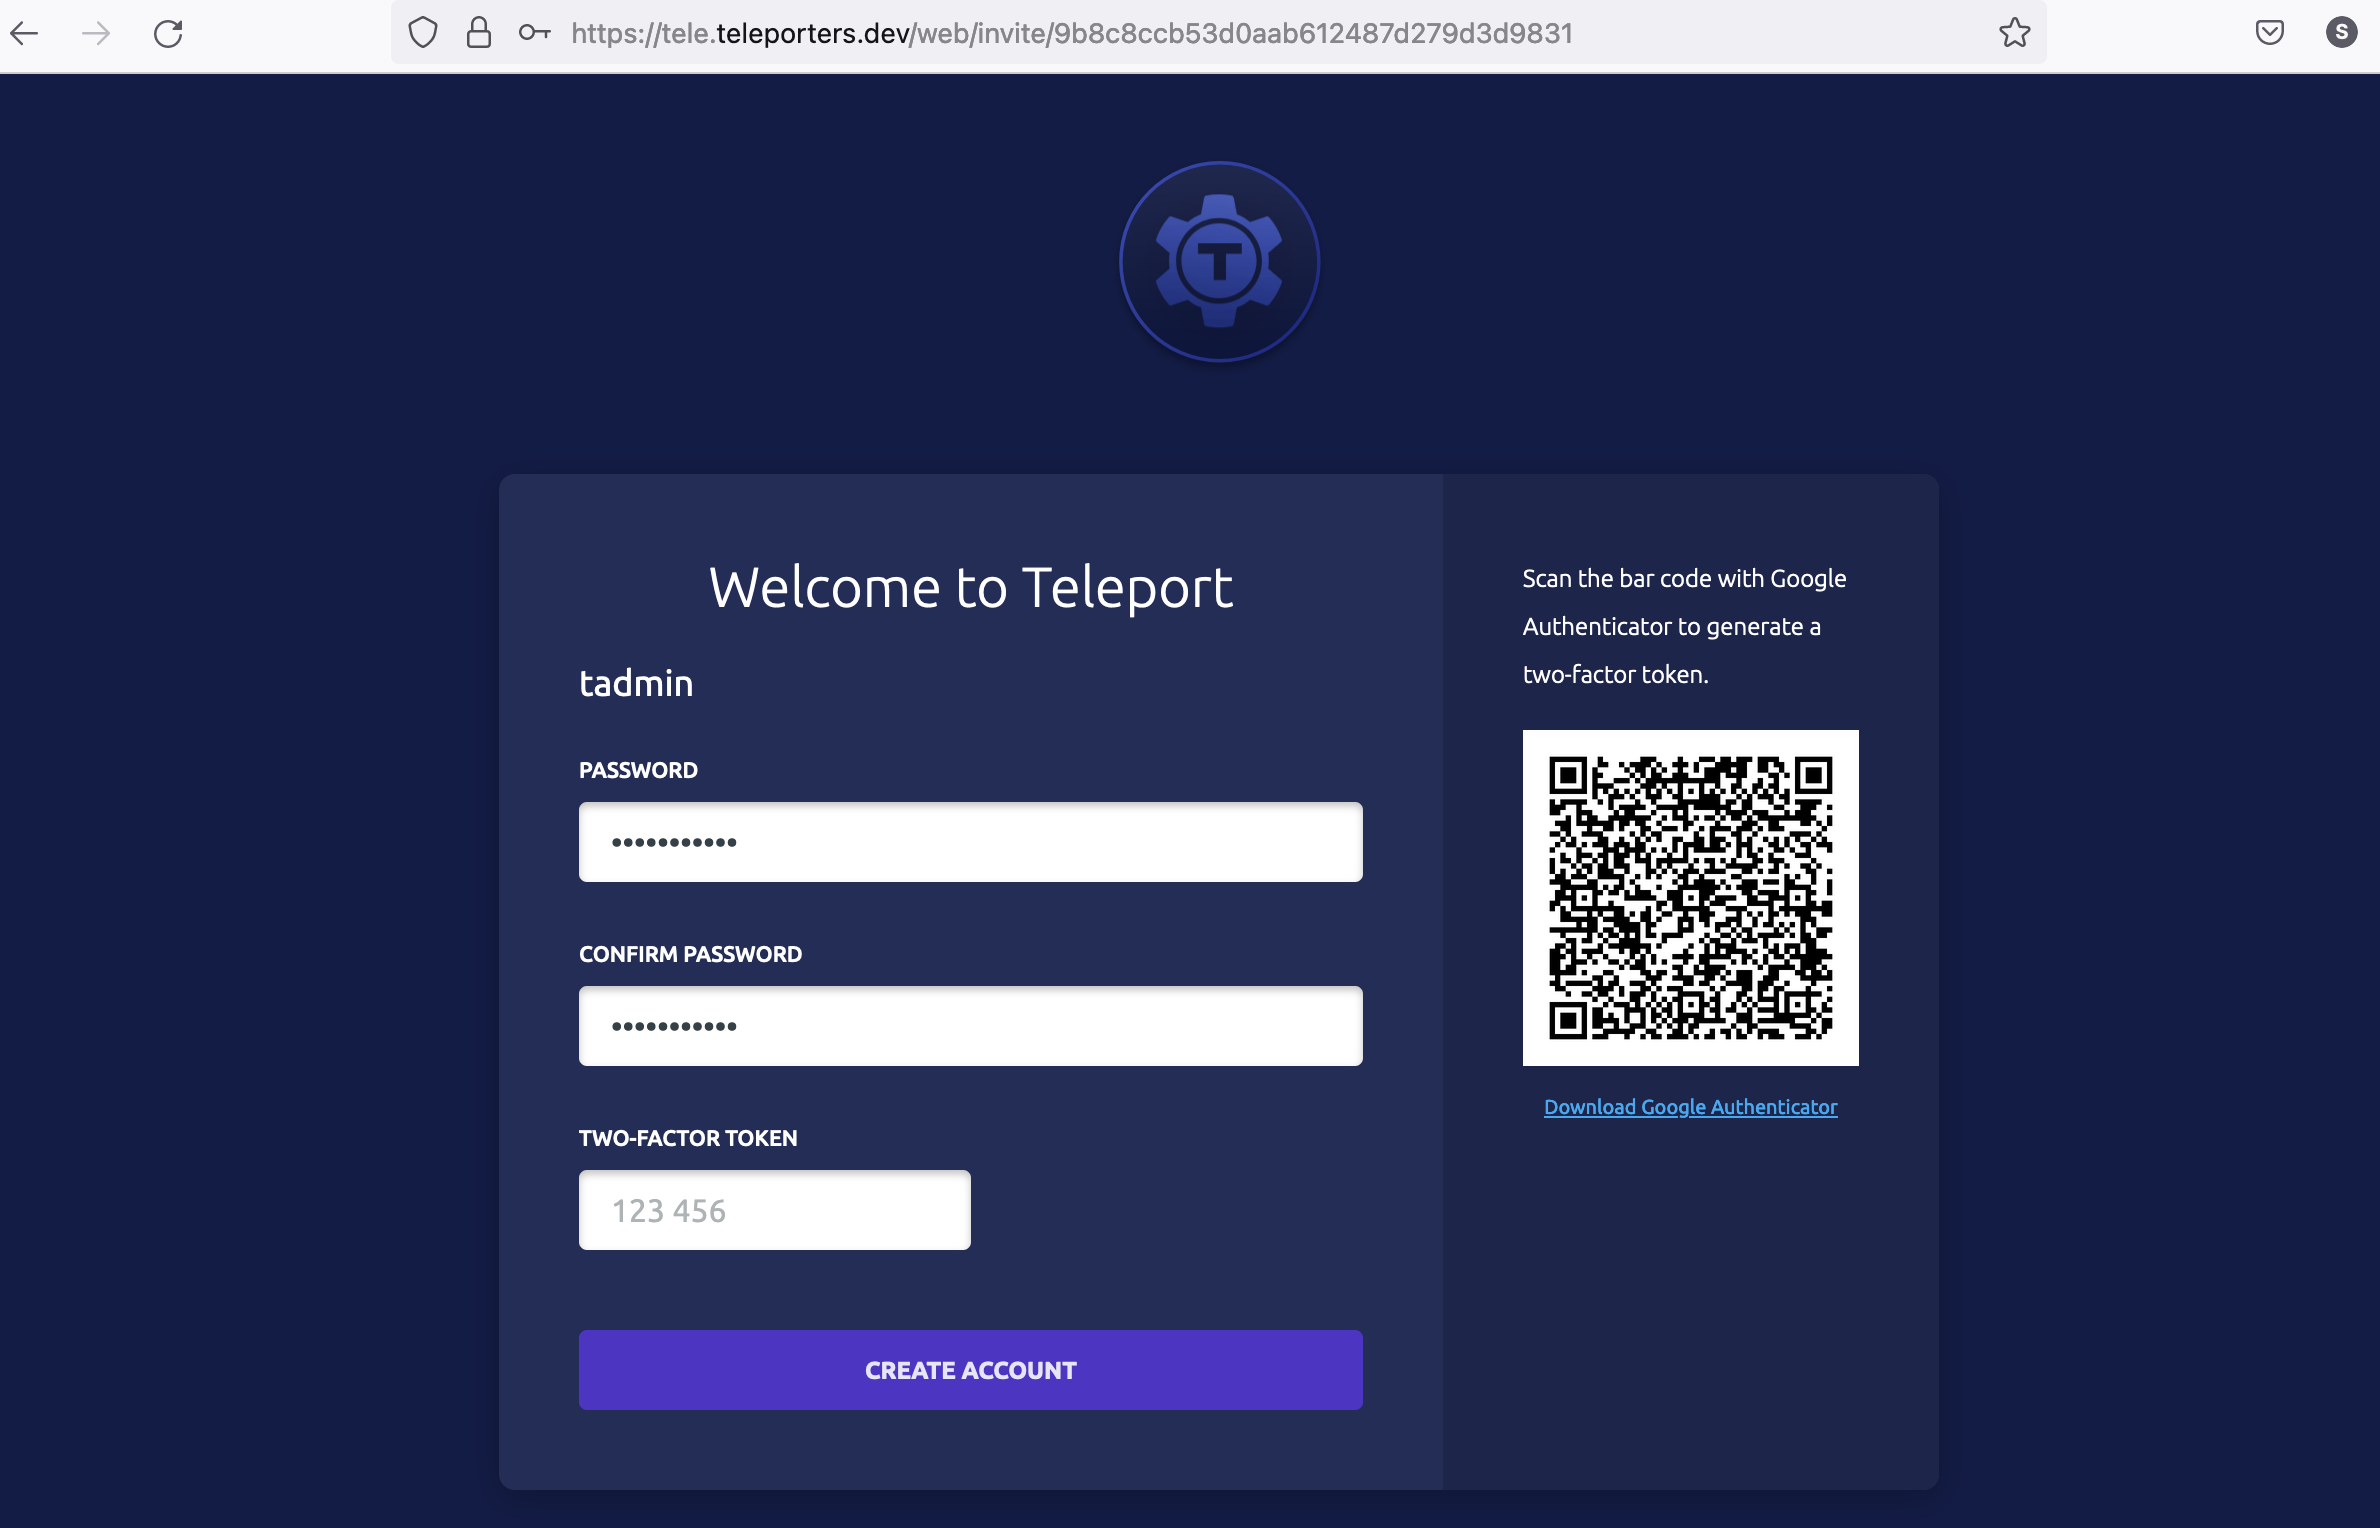
After you complete the registration process by setting up a password and enrolling in multi-factor authentication, you will be logged in to Teleport Web UI.
In this step, we created a user **tadmin** with roles `access, edit`. These are the default roles available in Teleport. However, to allow this user to access the Kubernetes cluster, we will need to assign **tadmin** a role authorized to access the Kubernetes cluster. So first, let's create a role named **member** with the Kubernetes privilege `system:master`.
### Create a new Kubernetes Role named "member"
Create a file named `member.yaml` with the following spec:
```
kind: role
version: v7
metadata:
name: member
spec:
allow:
kubernetes_groups: ["system:masters"]
kubernetes_labels:
'*': '*'
kubernetes_resources:
- kind: '*'
namespace: '*'
name: '*'
verbs: ['*']
```
---
WARNING
`system:masters` is a Kubernetes built-in role that is similar to `sudo` permissions in Linux systems. It is used here for demonstration purposes and should be used in production only when necessary.
---
Next, create this role in Kubernetes with the command:
```
$ kubectl --namespace=teleport-cluster exec -i deployment/teleport-cluster-auth -- tctl create -f < member.yaml
```
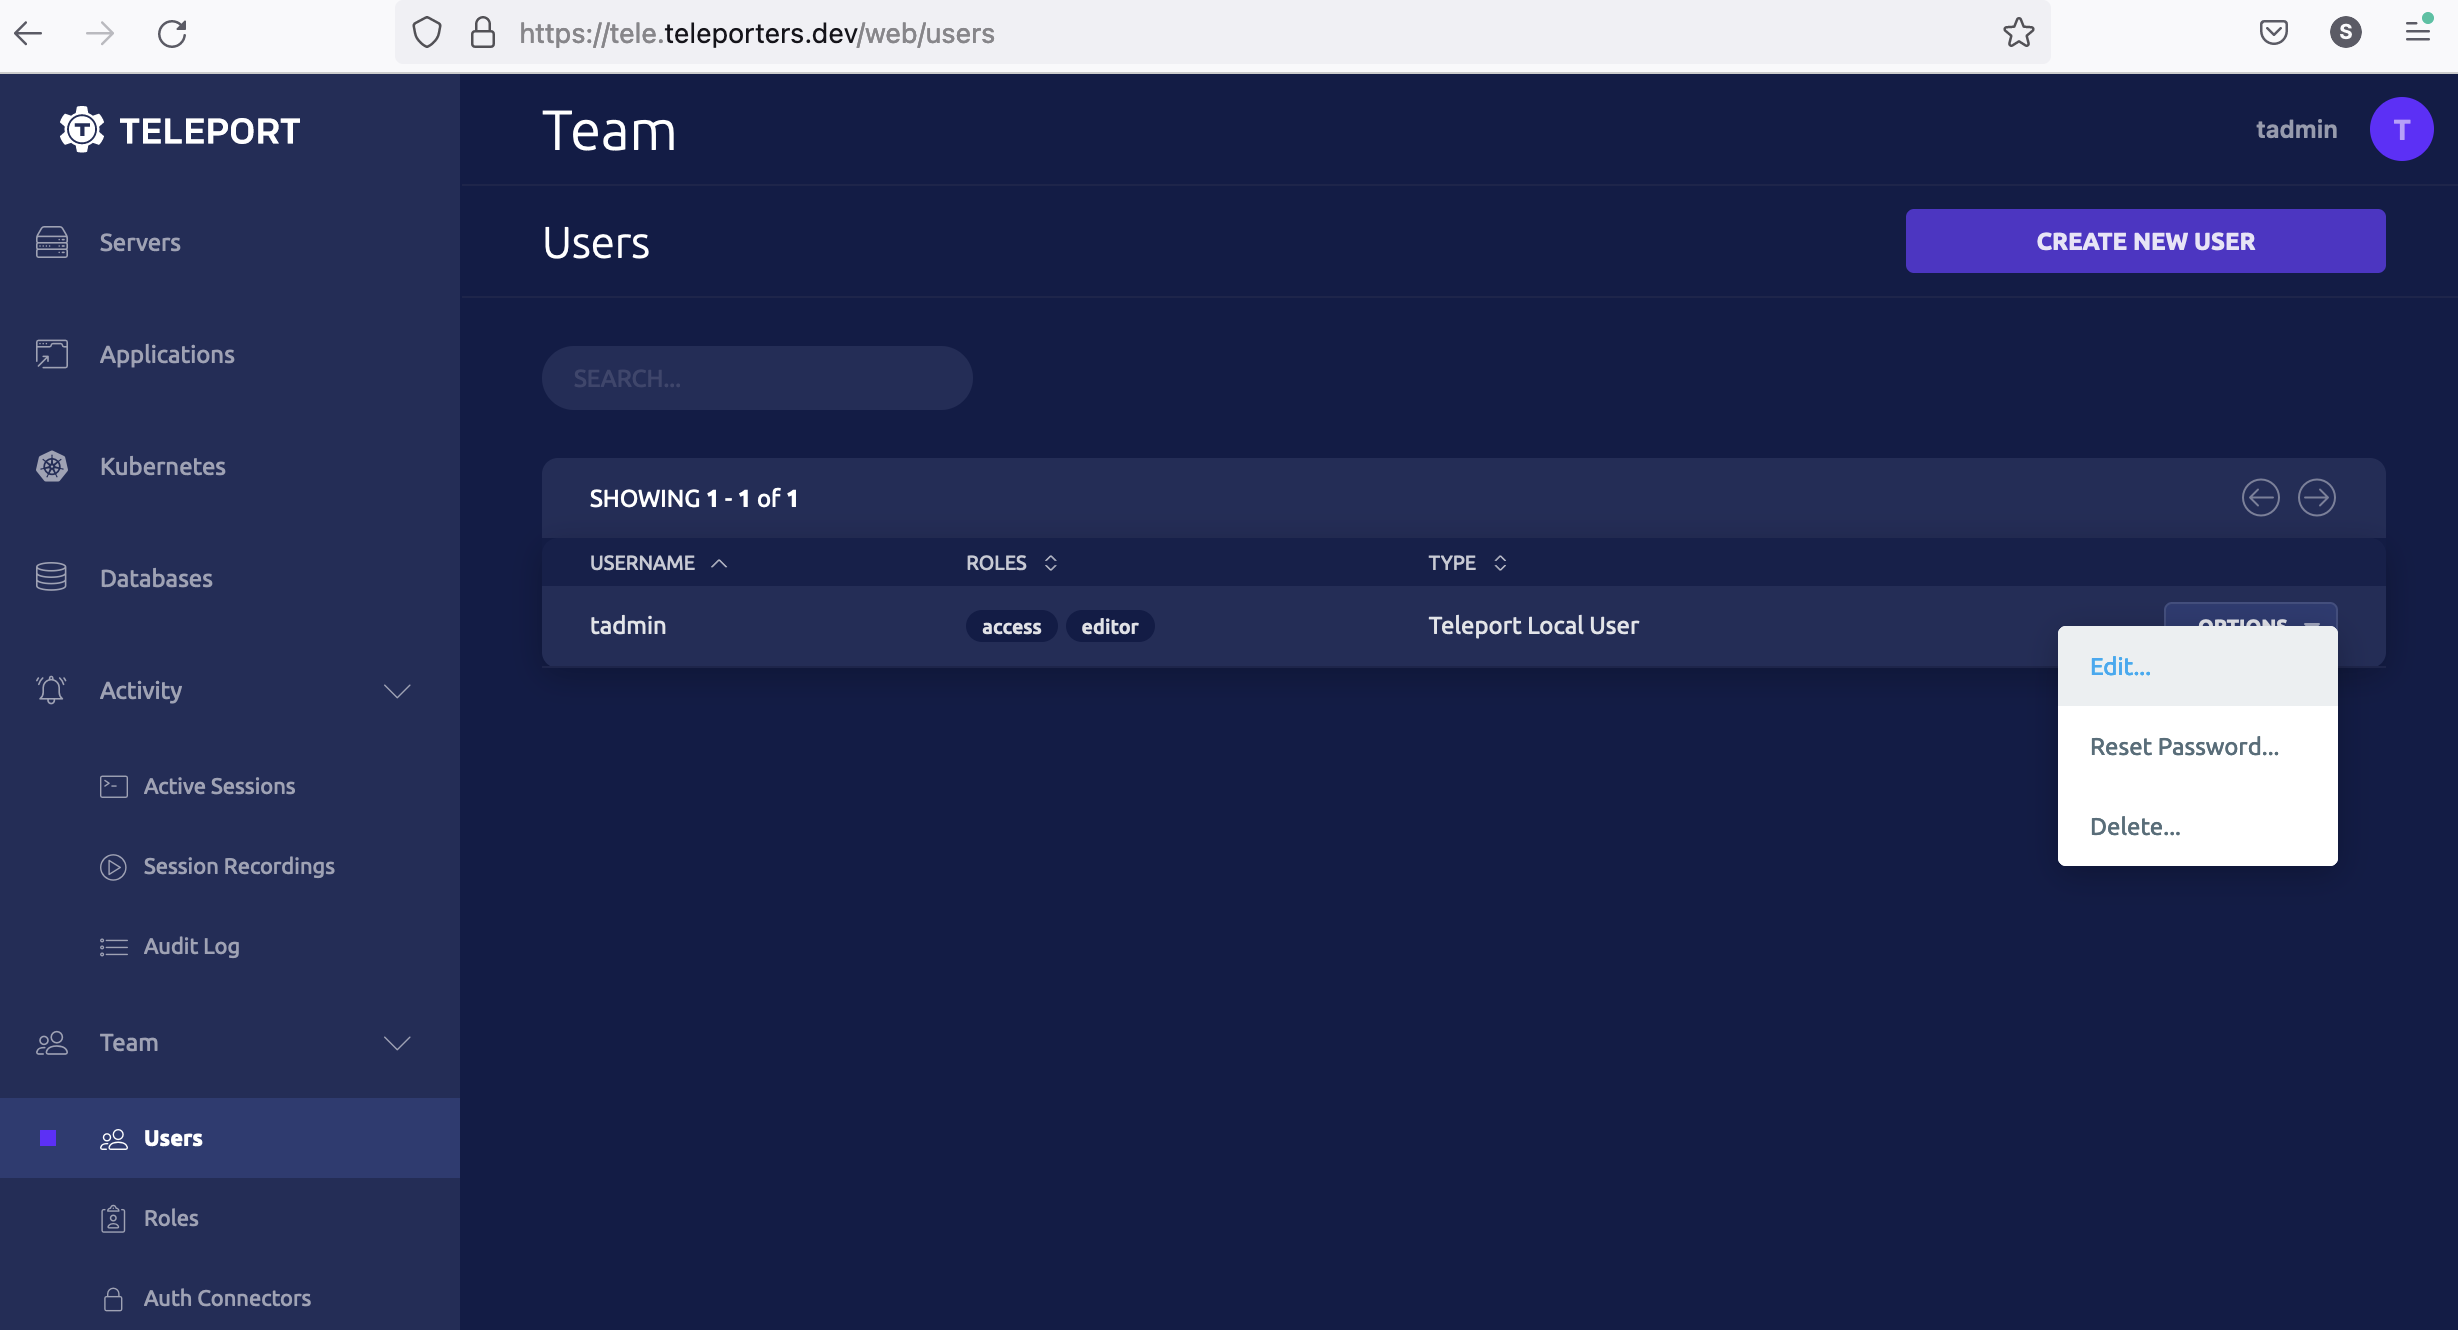
### Assign the "member" role to user "tadmin"
Now we will assign Teleport user **tadmin** with this role. The example below shows a process using Teleport Web UI: First, lets select user edit menu:
Second, update the **tadmin** user role to assign the **member** role:
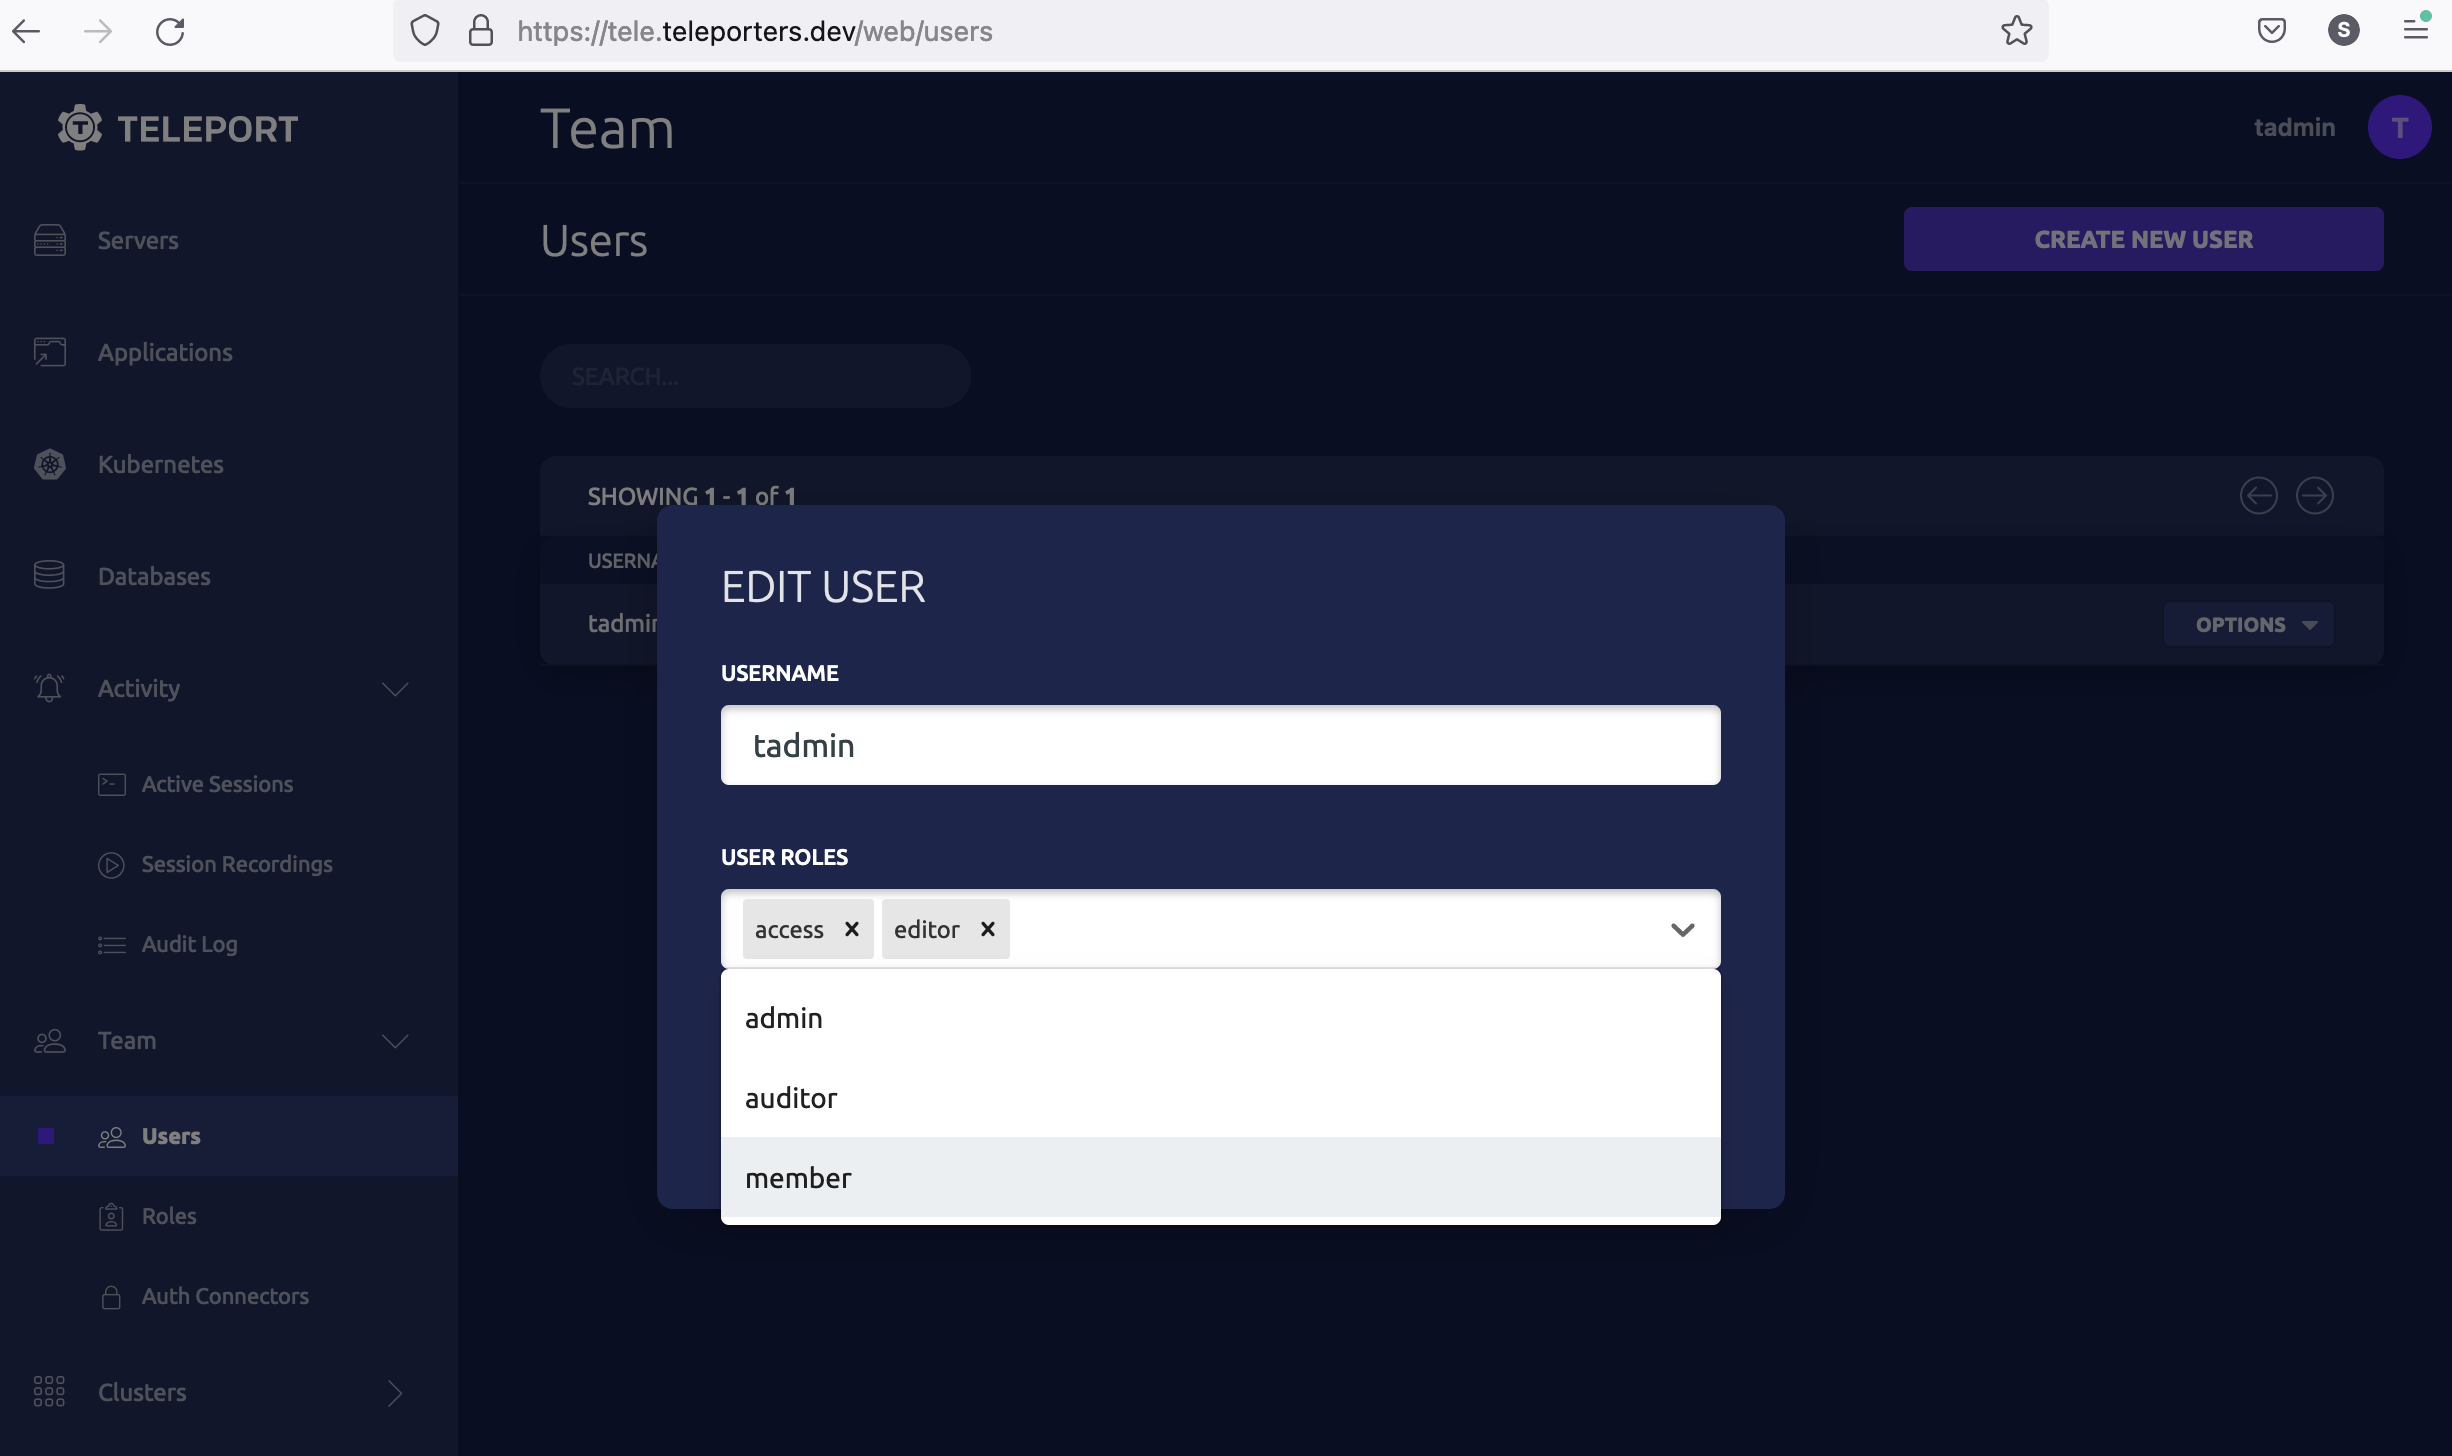
We've updated the user **tadmin** to have the **member** role, which is allowed to access a Kubernetes cluster with privilege `system:master`.
## Step 4/4. Access your Kubernetes cluster using Teleport
The following steps show how to access the Kubernetes cluster using `tsh`.
### Log in to Teleport
First, authenticate to Teleport using `tsh` as the **tadmin** user we created in the third step.
---
NOTE
The following process will override your global kubectl configuration file. To write your kubectl configuration to a separate file instead of having your global kubectl configuration modified, run the following command:
```
$ export KUBECONFIG=${HOME?}/teleport-kubeconfig.yaml
```
---
**Teleport Community Edition**
```
$ tsh login --proxy=tele.example.com:443 --auth=local --user=tadmin
Enter password for Teleport user tadmin:
Enter your OTP token:
540255
> Profile URL: https://tele.example.com:443
Logged in as: tadmin
Cluster: tele.example.com
Roles: access, editor, member
Logins: ubuntu
Kubernetes: enabled
Valid until: 2021-10-27 06:37:15 +0000 UTC [valid for 12h0m0s]
Extensions: permit-agent-forwarding, permit-port-forwarding, permit-pty
```
**Commercial**
```
$ tsh login --proxy=tele.example.com:443 --auth=local --user=tadmin
Enter password for Teleport user tadmin:
Enter your OTP token:
540255
> Profile URL: https://tele.example.com:443
Logged in as: tadmin
Cluster: tele.example.com
Roles: access, editor, reviewer, member
Logins: ubuntu
Kubernetes: enabled
Valid until: 2021-10-27 06:37:15 +0000 UTC [valid for 12h0m0s]
Extensions: permit-agent-forwarding, permit-port-forwarding, permit-pty
```
### Select the Kubernetes cluster
```
$ tsh kube login tele.example.com
Logged into kubernetes cluster "tele.example.com". Try 'kubectl version' to test the connection.
```
### Connect to the Kubernetes cluster
```
$ kubectl --namespace=teleport-cluster get pods
NAME READY STATUS RESTARTS AGE
teleport-cluster-6cc679b6f6-7xr5h 1/1 Running 0 14h
```
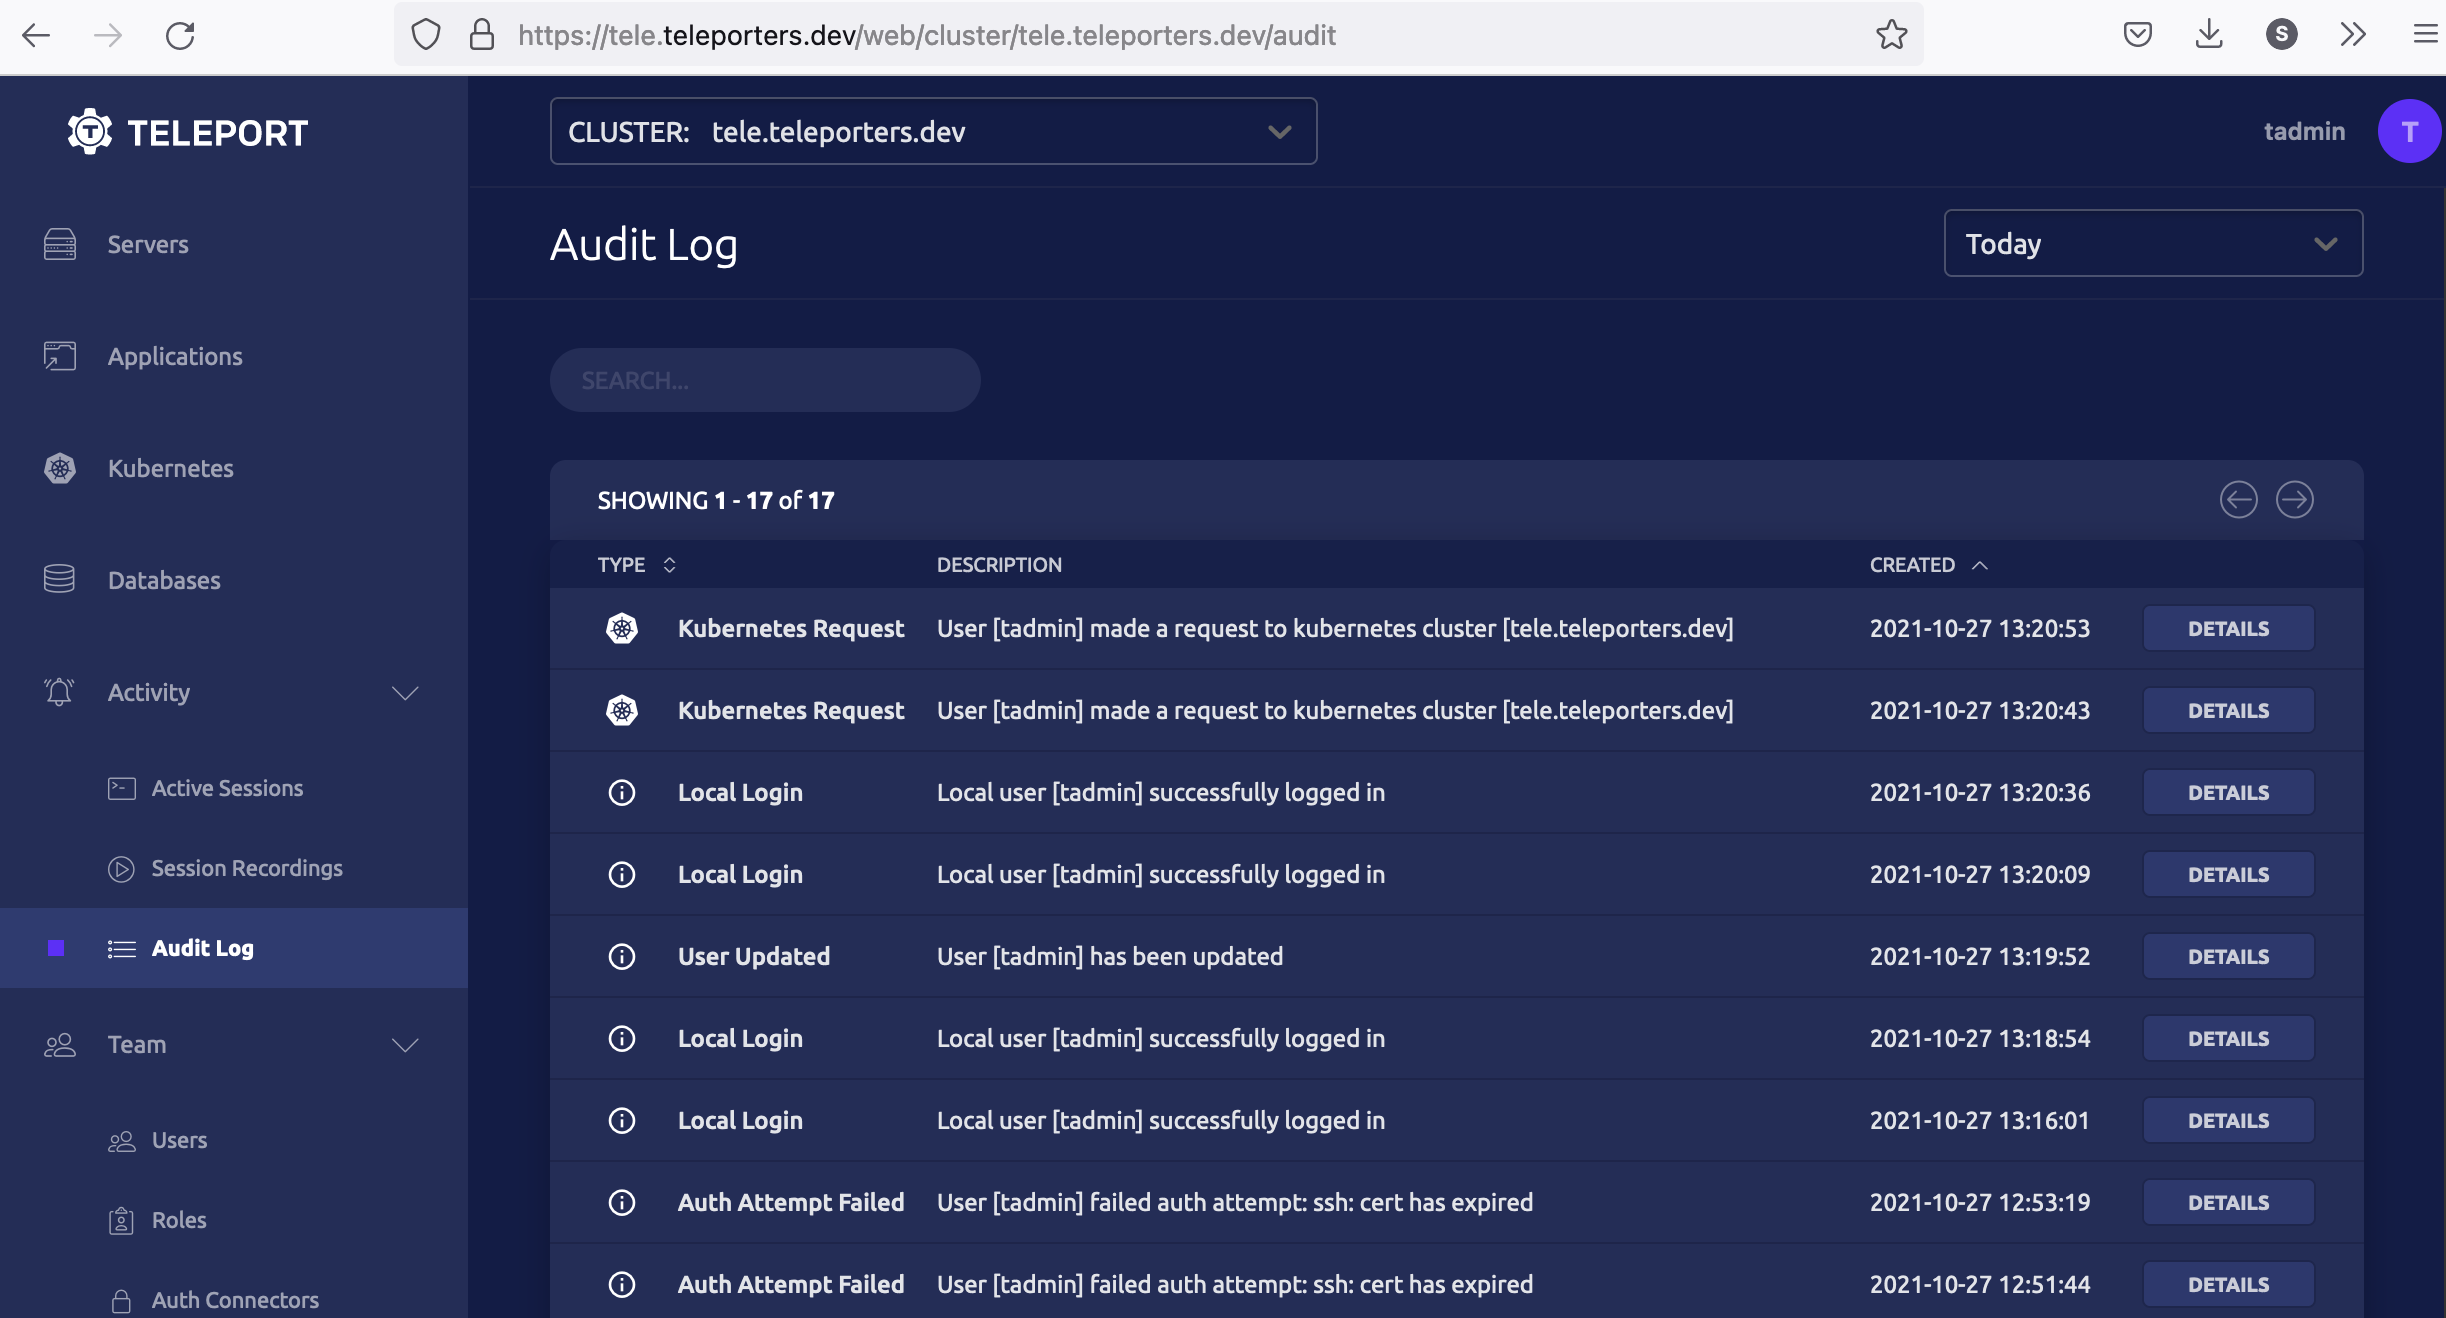
Voila! User **tadmin** was able to list the pods in their DigitalOcean Kubernetes cluster.
Teleport keeps an audit log of access to a Kubernetes cluster. In the screenshot below, the Teleport audit log shows that the user **tadmin** has logged into the cluster.
## Next steps
To see all of the options you can set in the values file for the `teleport-cluster` Helm chart, consult our [reference guide](https://goteleport.com/docs/reference/helm-reference/teleport-cluster.md).
Read our guides to additional ways you can protect a Kubernetes cluster with Teleport:
- Connect another Kubernetes cluster to Teleport by [deploying the Teleport Kubernetes Service](https://goteleport.com/docs/enroll-resources/kubernetes-access/getting-started.md)
- [Set up Machine & Workload Identity with Kubernetes](https://goteleport.com/docs/machine-workload-identity/access-guides/kubernetes.md)
- [Single-Sign On and RBAC for Kubernetes Clusters](https://goteleport.com/docs/enroll-resources/kubernetes-access/controls.md)